Photoshop Plugins
This page describes the StarNet and DeepSNR Photoshop plugins: current releases, system requirements, installation instructions, and how to use the plugins in Photoshop.
Installation guide
The same steps apply to both plugins on Windows and Mac. Check the system requirements, then download StarNet2 or DeepSNR.
Install the plugin
Requires Adobe Photoshop 26.11.7 or newer and Adobe Creative Cloud Desktop to install the CCX. Older Photoshop versions and Affinity Photo are not supported.
Tested with Photoshop 26.11.7 on Windows and 27.10.0 on Apple Silicon Mac. Photoshop on a physical Intel Mac has not been tested.
The screenshots below show StarNet2 on Windows. Follow the same sequence for DeepSNR; macOS dialogs may look different. The version shown in the screenshots is an example.
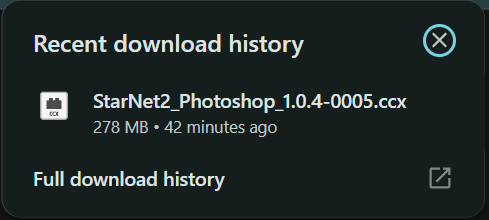
1. Download and open the CCX
Save your work and close Photoshop. Download StarNet2 or DeepSNR, then double-click the .ccx file to open it in Adobe Creative Cloud Desktop.
Creative Cloud may take a moment to open without showing any progress. Please wait before trying again.
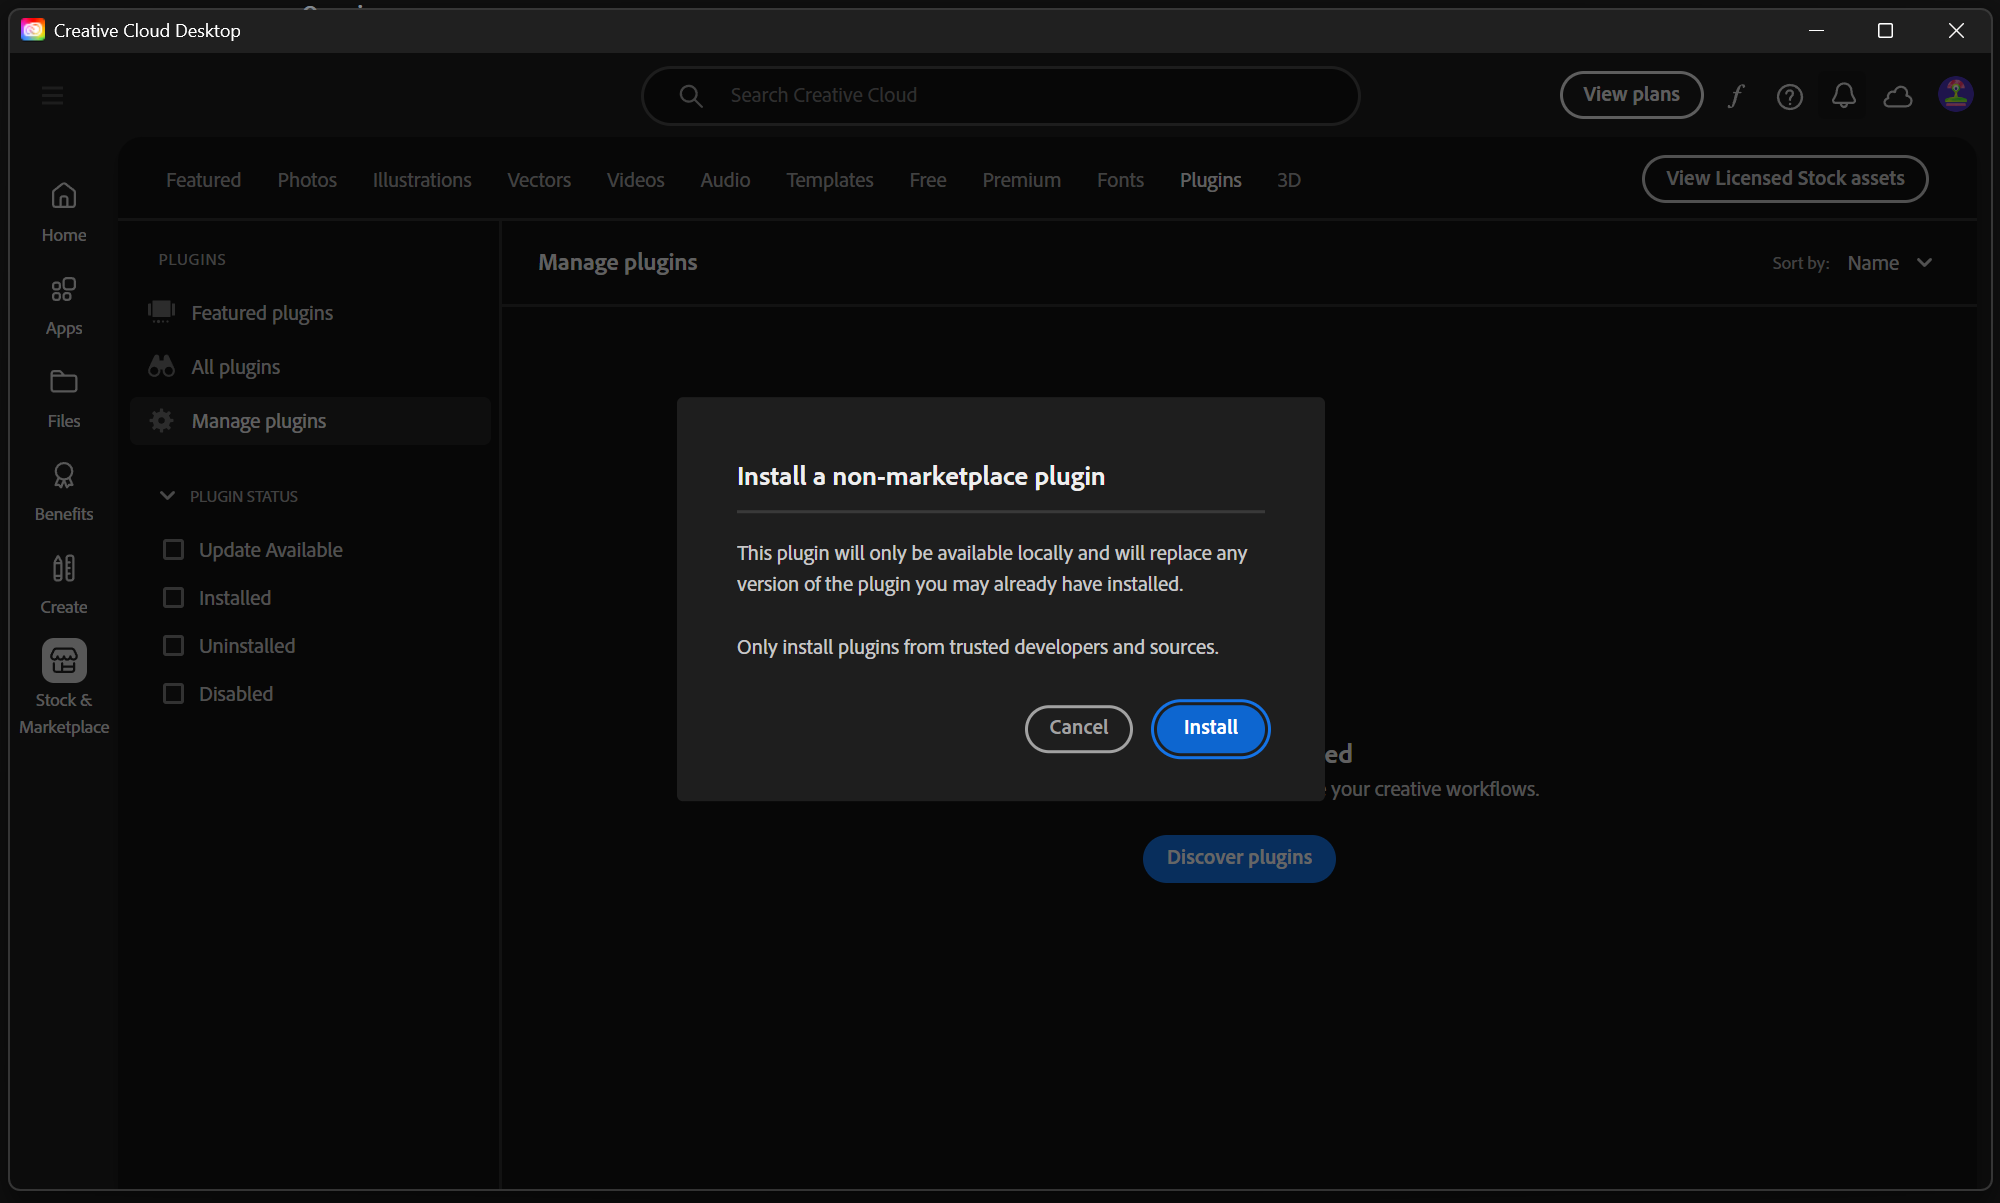
2. Confirm installation
Creative Cloud Desktop shows Install a non-marketplace plugin because the download comes from this website rather than Adobe Marketplace. Check that you downloaded it from the official StarNet Software website, then click Install.
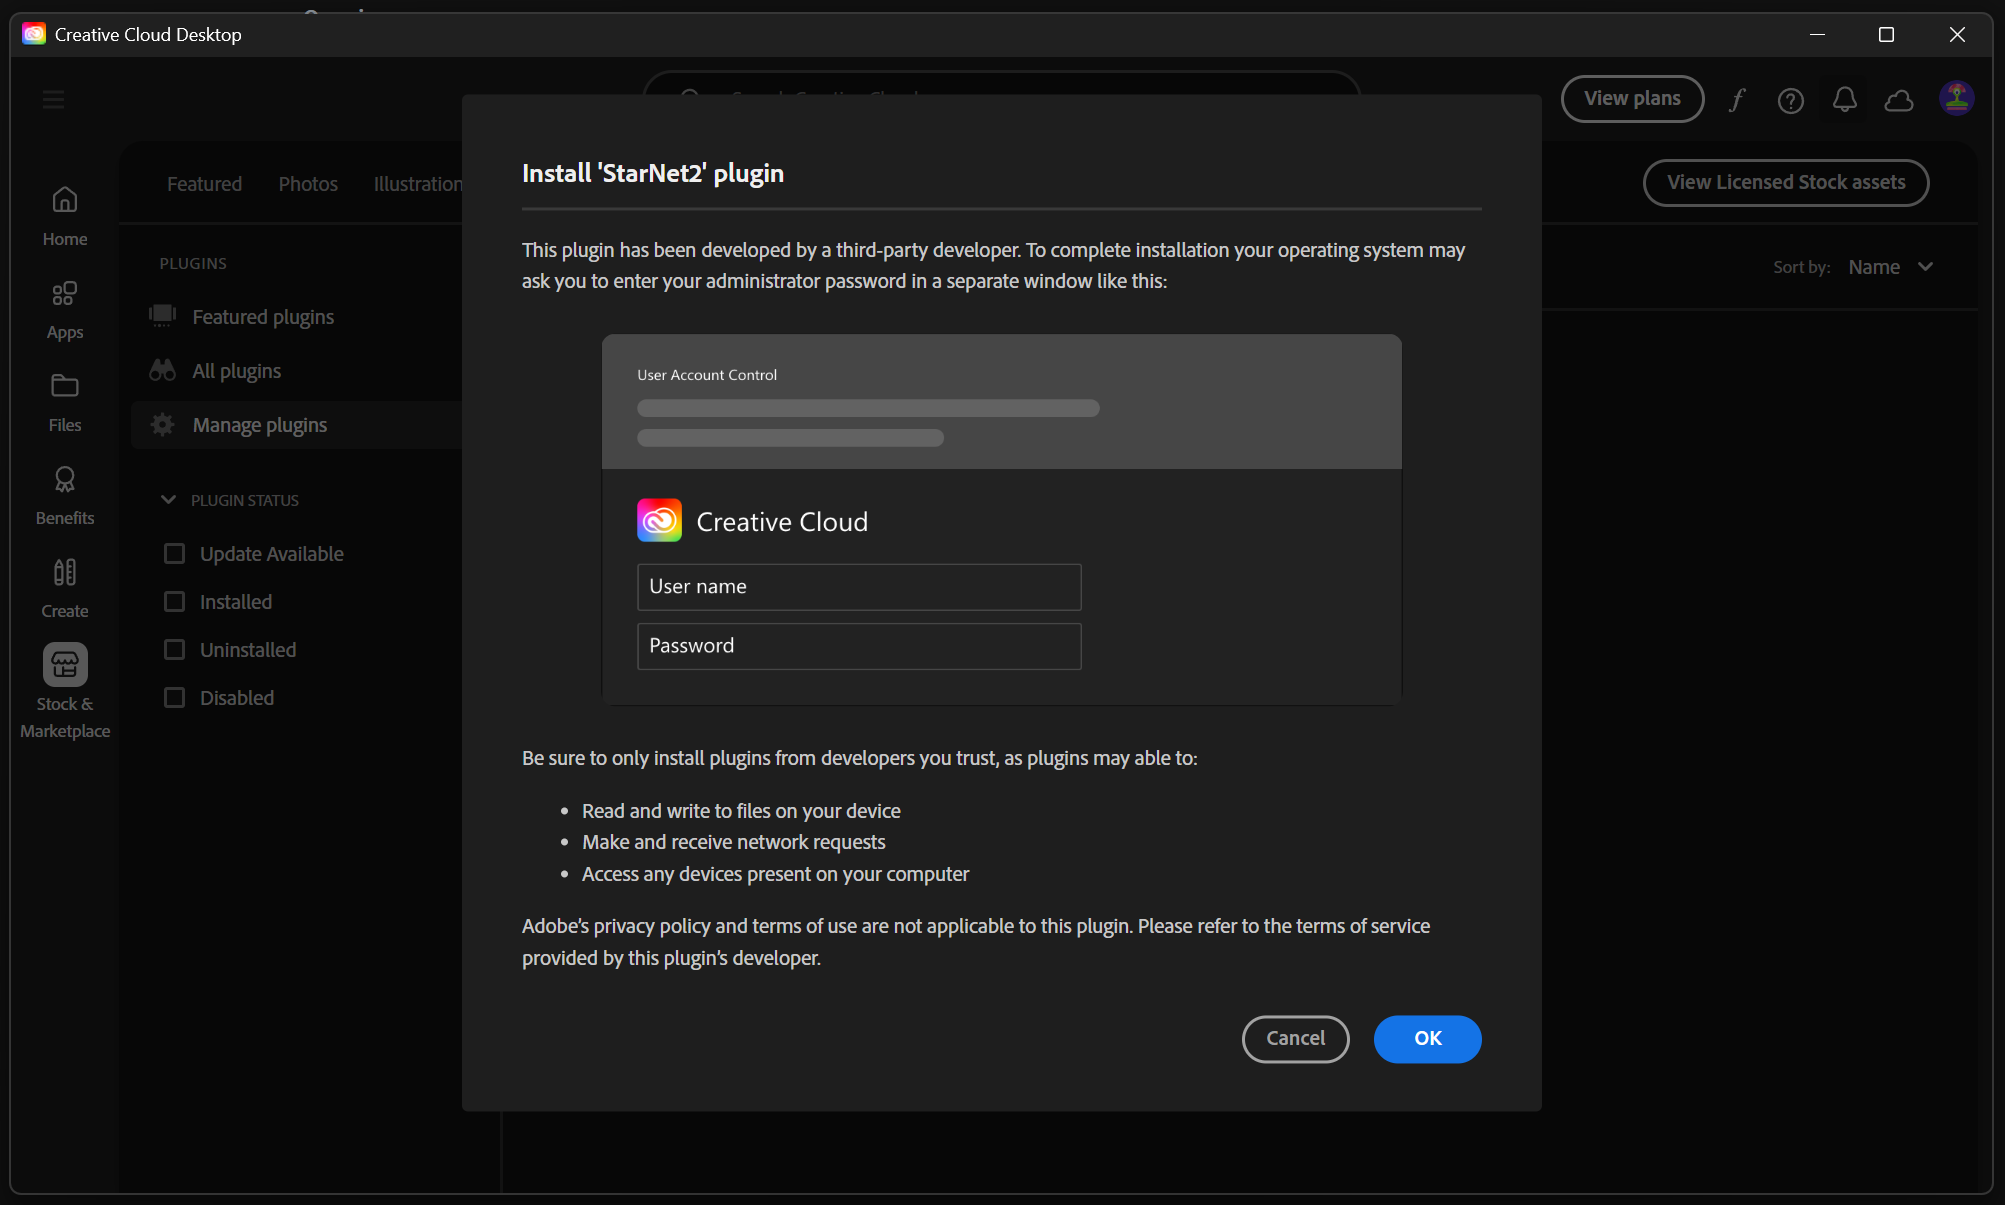
3. Review the permissions notice
Read Adobe's third-party plugin notice, then click OK to continue. Your operating system may ask for administrator approval in a separate window.
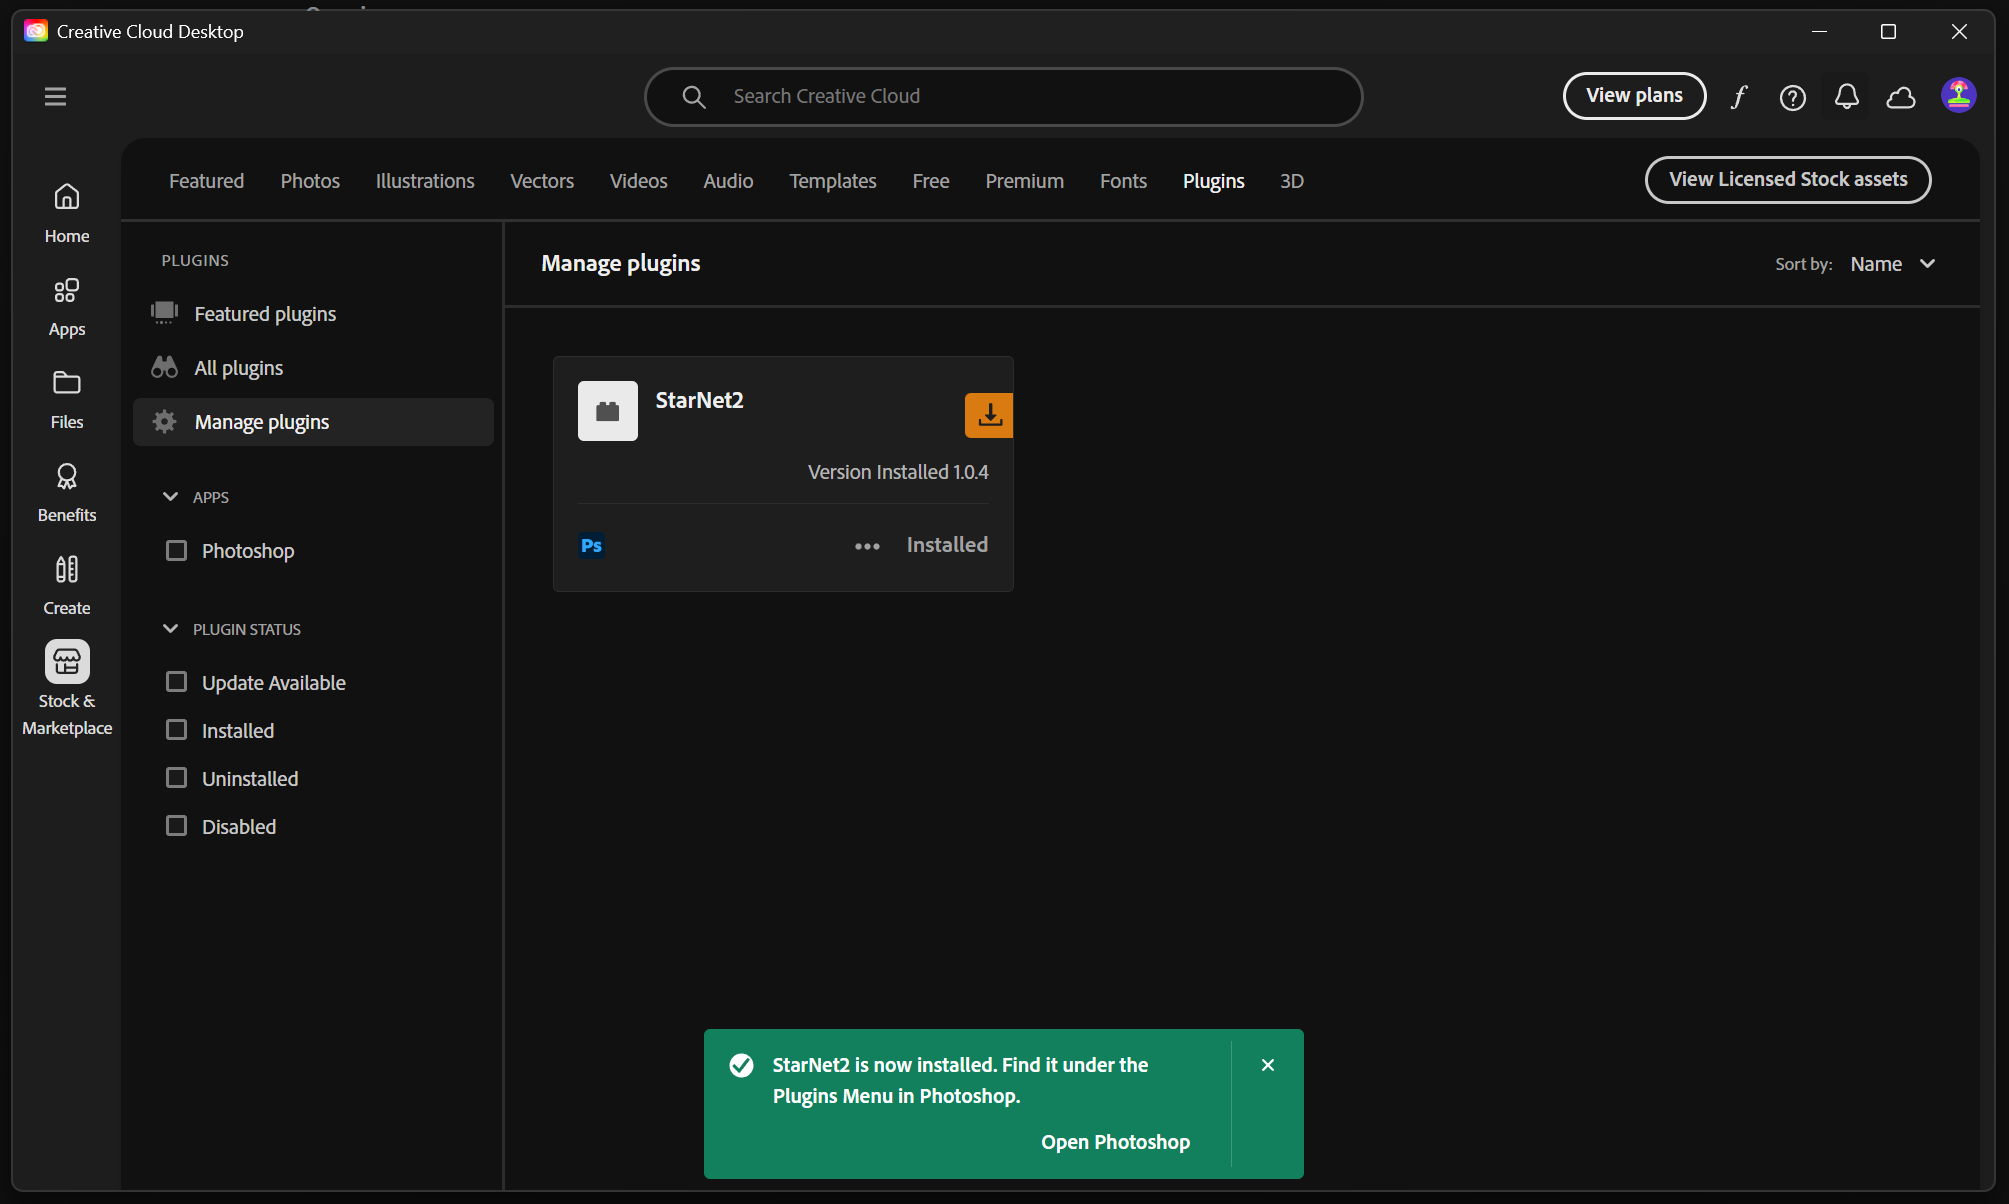
4. Check that installation finished
Wait for Creative Cloud Desktop to show the plugin as Installed. You can check this under Manage plugins. Then reopen Photoshop, or use Open Photoshop in the completion message.
Installation can also pause without showing progress. Wait for the installation confirmation before reopening Photoshop or starting the installer again.
5. Open the panel from Plugins
In Photoshop, choose Plugins → StarNet2 → StarNet2, or Plugins → DeepSNR → DeepSNR. These are panels in the Plugins menu, not entries under Filter or Smart Filters.

6. Accept the license and start using the plugin
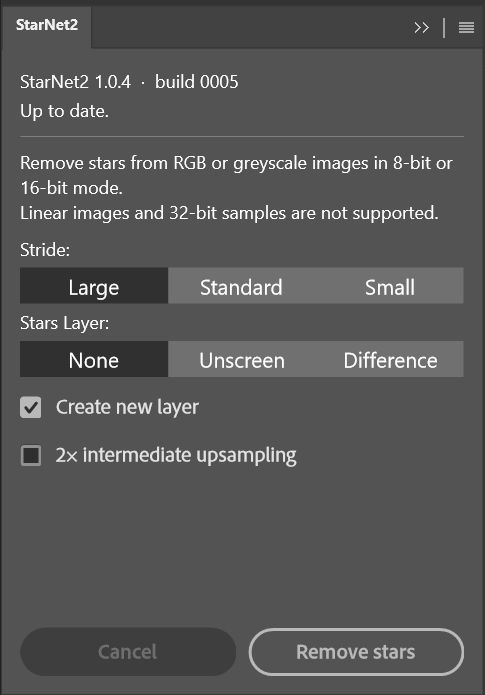
On first use, click Accept license terms, then read and accept the agreement to enable processing. The screenshot below shows the panel after acceptance. Open a supported image and select a pixel layer to begin. Image processing runs locally on your computer.
Plugin missing after installation or update?
If Creative Cloud shows StarNet2 or DeepSNR as installed but it is missing from Photoshop's Plugins menu, try refreshing its registration:
- Save your work and close Photoshop completely.
- In Adobe Creative Cloud Desktop, open Manage plugins. Disable the affected plugin, then enable it again.
- Reopen Photoshop and check the Plugins menu.
This has resolved missing panels on Windows and Mac without uninstalling the plugins. If it does not help, Adobe recommends signing out of Creative Cloud Desktop, restarting your computer, signing back in, and reopening Photoshop.
Creative Cloud Desktop manages plugin installation and registration. Adobe documents cases where a plugin appears installed but is missing from the application's menu. These can occur before StarNet2 or DeepSNR loads, so the plugin itself cannot repair them.
If the panel is still missing, follow Adobe's installation troubleshooting guide or contact Adobe support. You can also report it using the StarNet2 or DeepSNR feedback form. Include your operating system, Photoshop and Creative Cloud versions, and whether this was a fresh installation or an update.
Creative Cloud installation errors
Errors shown by Creative Cloud while installing a CCX are installer errors, not image-processing errors. Adobe documents errors such as -2 and -152 on macOS Sonoma, with system-permission troubleshooting steps. An error code alone does not establish the cause in every case.
Open the installer's error details and follow Adobe's guidance for your error and operating system. Problems with Adobe's installer, permissions or plugin registration may require Adobe support; we cannot directly fix Creative Cloud itself. If you report the issue to us, include the exact error text and your operating system, Photoshop and Creative Cloud versions so we can distinguish an installer problem from a problem with our package.