Documentation
This section collects technical notes and usage guides for StarNet and DeepSNR: PixInsight and command-line references, input behavior, data-quality guidance, and workflow examples.
Use color images when possible
For StarNet star removal, there is no advantage in processing channels one by one. Color images carry more information and usually allow more precise star removal than separate grayscale channel processing.
Choose stride from star size
Stride should be based on the size of stars in the image. For wide-field images with generally small stars, use a high value such as 384 in current versions.
For most other images, the default 256 is the right starting point. Going below 256 is rarely useful unless you have a specific reason to test it.
Round stars and missed detections
Some missed stars have historically appeared in grayscale images with very round, soft stars. Color input usually helps. Another workaround is to add subtle diffraction-like spikes with external tools so StarNet has more star-like structure to identify.
If only a few stars are missed, it may be faster to repair them manually with a clone or healing tool instead of over-tuning the whole run.
Use 2× upsampling only when needed
The 2× option mainly helps images with very tight stars. It can reduce radiating artifacts around removed stars and can help StarNet catch tiny stars in complex regions.
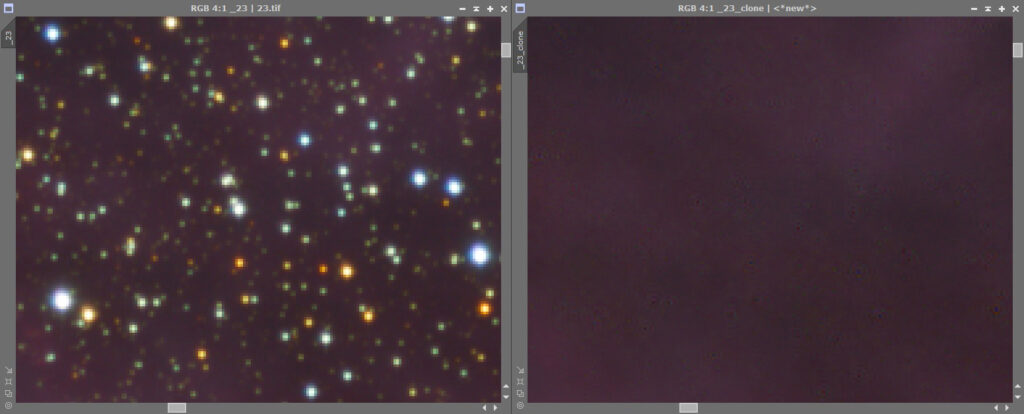
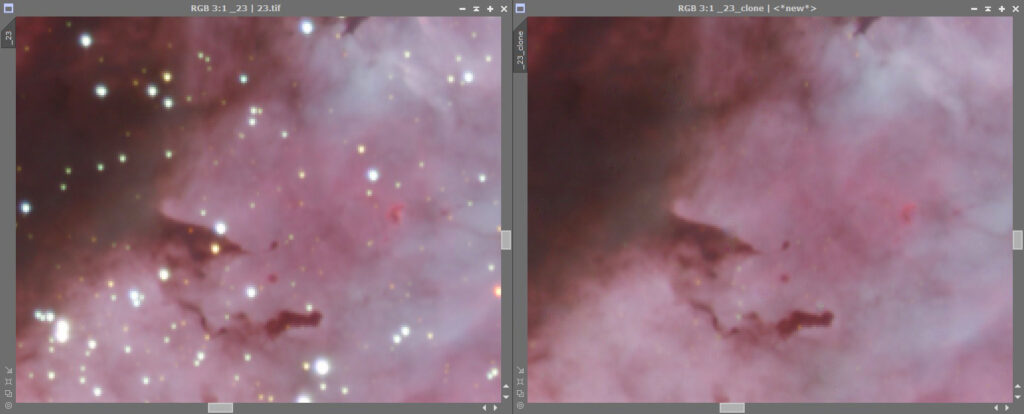
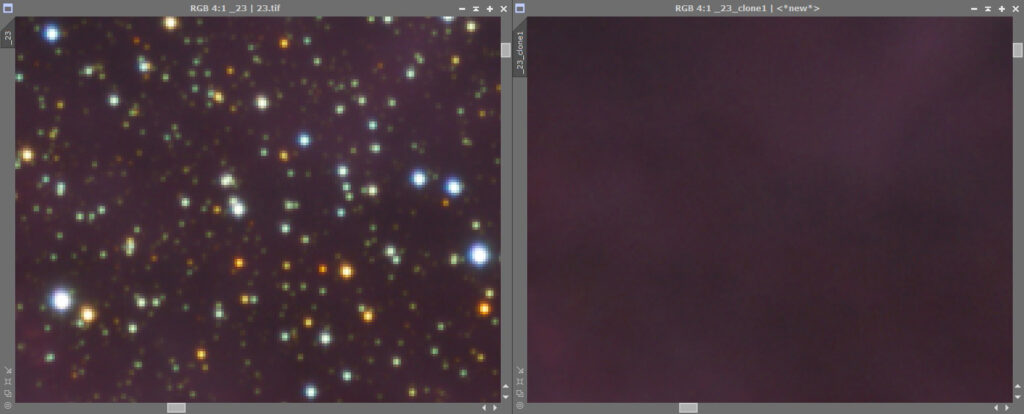
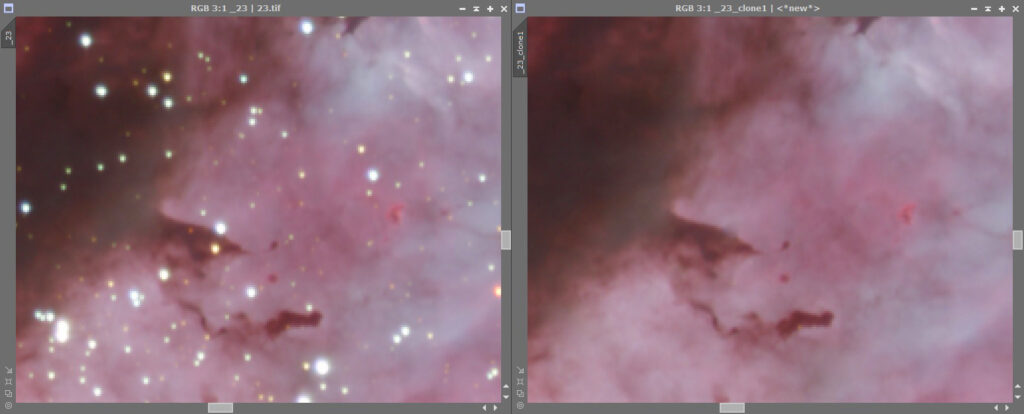
The tradeoff is processing time. 2× upsampling can take roughly four times as much compute/runtime, and very large stars can become harder to handle. Use it when the image needs it, not as a default for every frame.
Adjust stretch when StarNet removes image structure
Auto STF is a good starting point for star removal most of the time, but it is not always optimal. Bright high-frequency nebula detail can sometimes be mistaken for stars, especially in grayscale or narrowband images.
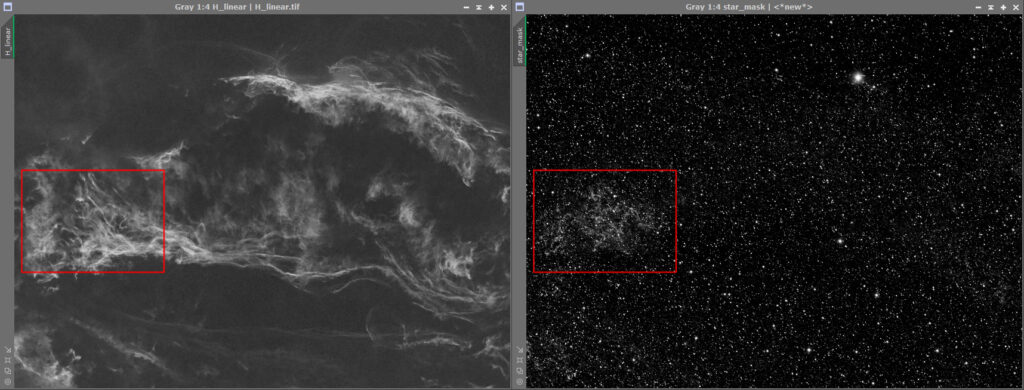
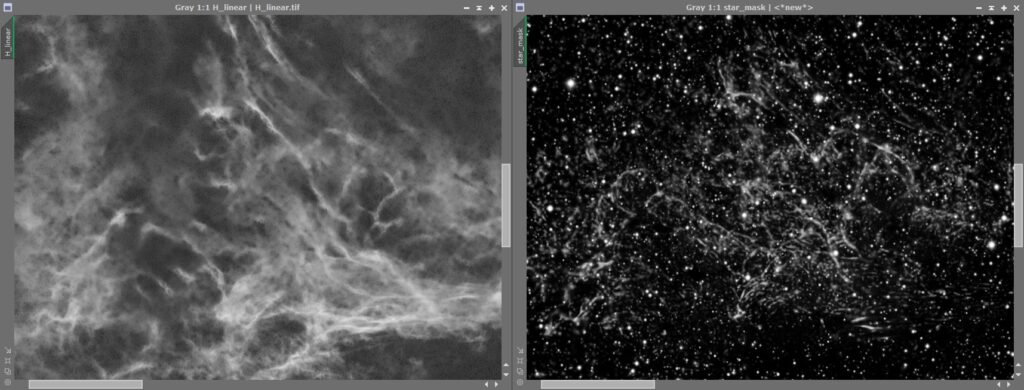
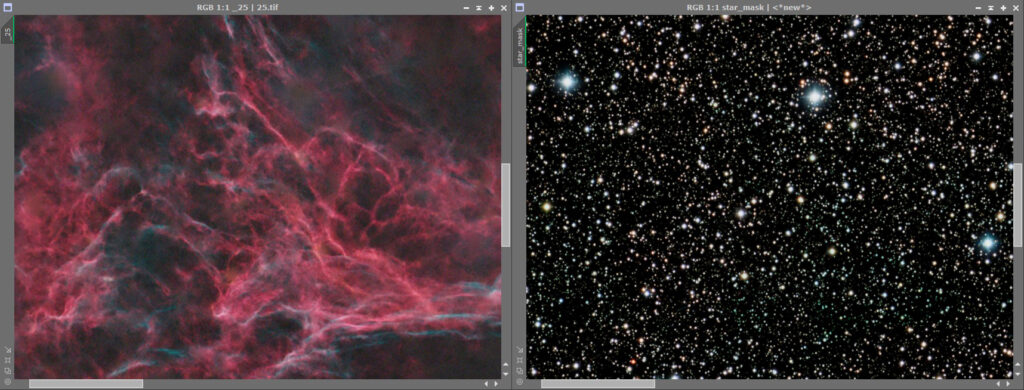
First try a color version if one is available. Color data can help the model distinguish stars from nebular structure.
If color data is not available, 2× upsampling can help by increasing image scale before star removal.
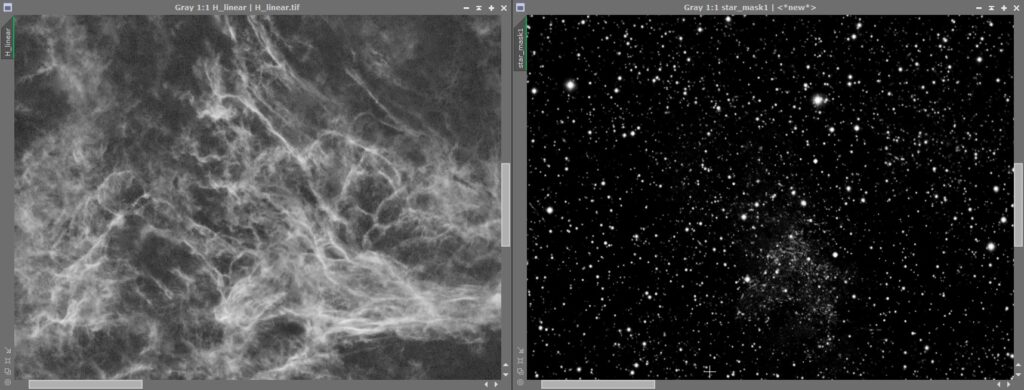
Another useful option is to reduce the apparent brightness of the image before running StarNet. In PixInsight terms, this means moving STF sliders so the brightest non-star structures are less dominant.
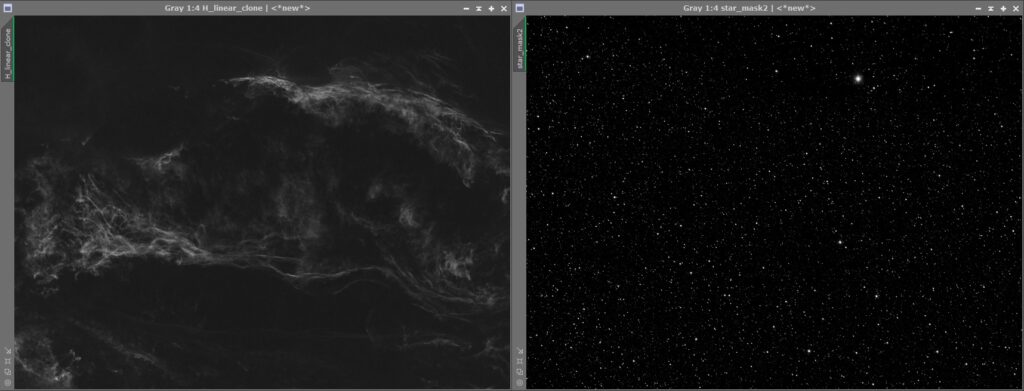
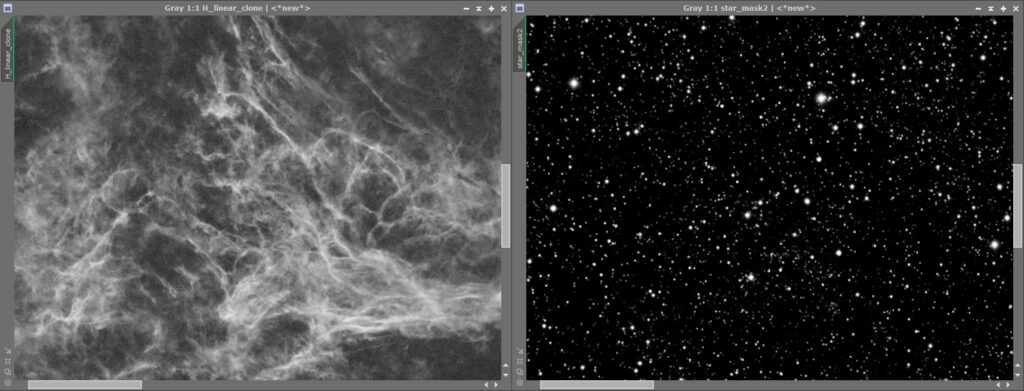
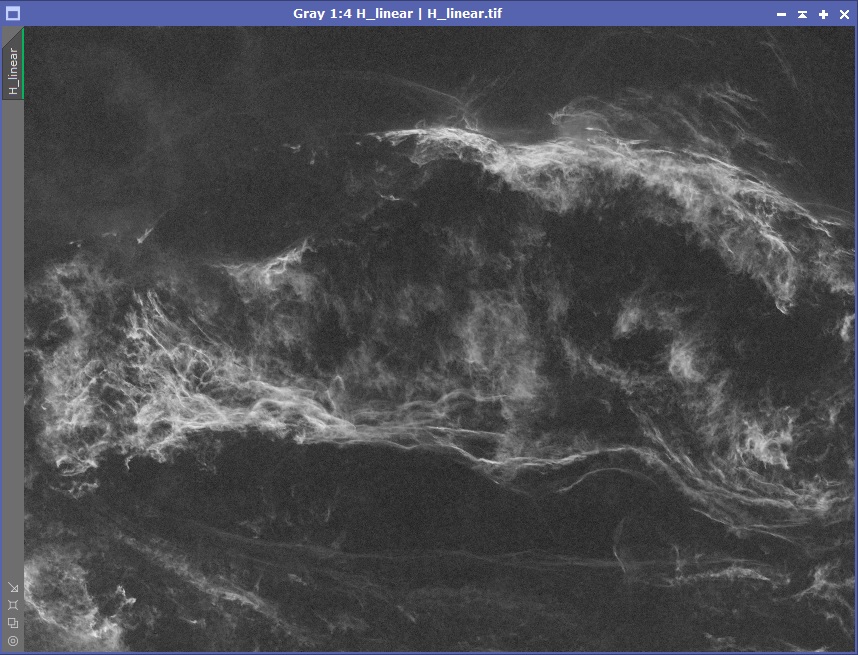
The original example used a linear image. Repeating the same process on a pre-stretched image may be less optimal, but it is still worth testing when no linear image is available.